Garden Leisure
Watch this – How to season a clay chiminea

Mar
Our friends down in Devon have been waiting for dry weather to fire up their new Mexican clay chiminea for the first time. While it isn’t sunny, at least it’s dry enough to give it a go. Here’s how to season a clay chiminea, complete with photos. As you can see it’s pretty easy and doesn’t take long.
How to season a clay chimenea – including photos
First, why do you need to season a clay chiminea? Because relatively low-fired clay like this is vulnerable to thermal shock, either from sudden intense heat or intense cold. It can sometimes crack. The best way to protect it against frost is to buy an insulated chiminea cover. Seasoning the clay with a small fire prepares the material for being heated up, giving the clay the protection it needs to help prevent cracking when you use it for real.
Season a clay chiminea step-by-step
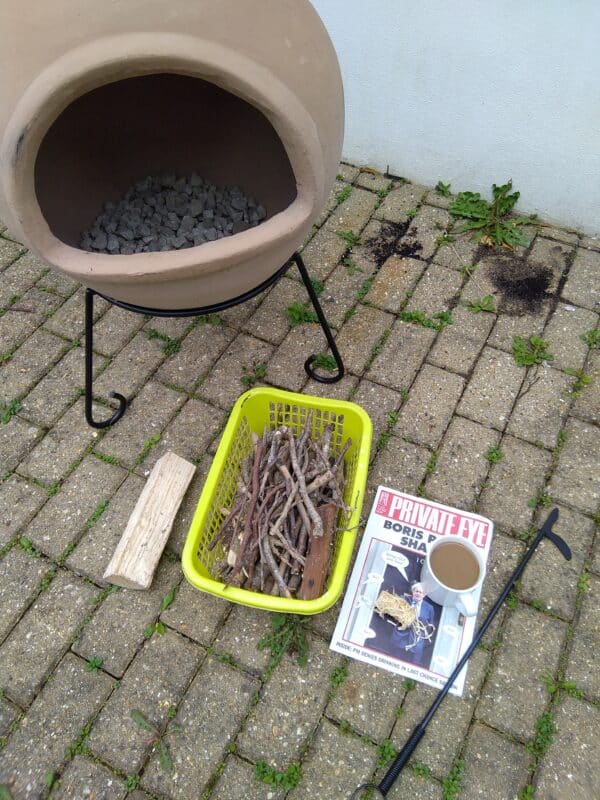
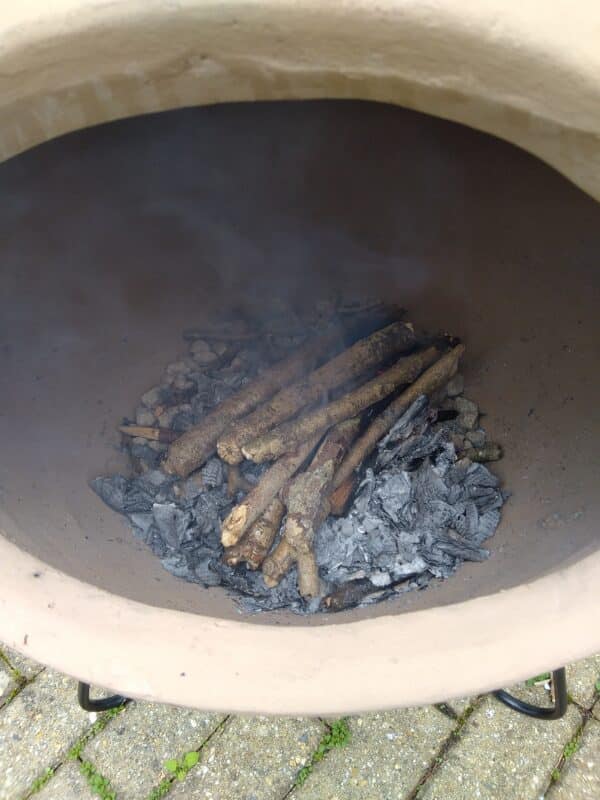
First, add a layer of lava stones – in other words pumice – to the chim’s belly, to insulate the bottom. This is absolutely crucial. You only need to buy one bag, they last more or less forever.
Next, gather your materials together so you don’t have to rush to and fro. Here we have a basket of twigs and small chunks of tree branch, the ideal kindling for setting off a small fire, plus some old paper, a poker and, of course, a cuppa!
To make the lighting part even easier we used a firelighter made from wood shavings and flammable wax, a great way to get cracking with minimal faffing around. We also set aside one medium sized chunk of wood just in case but as it turned out, the kindling was enough to season the chimenea.
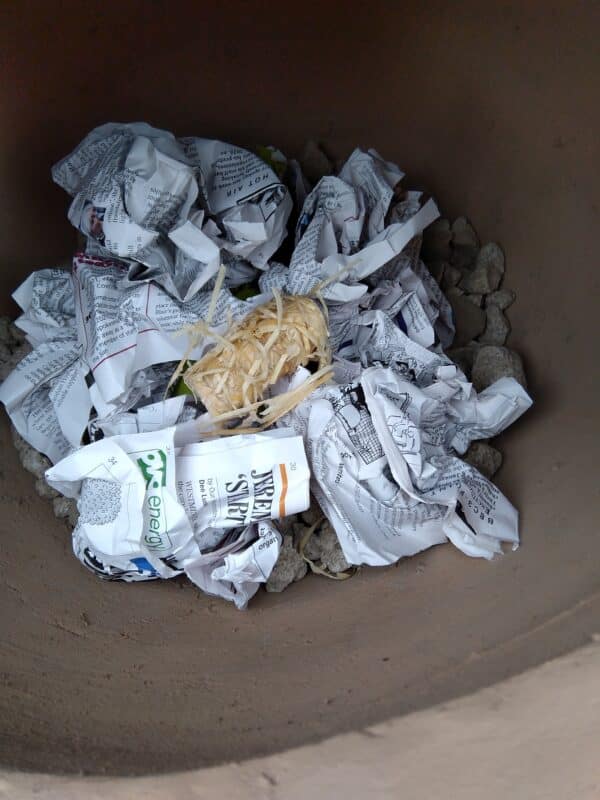
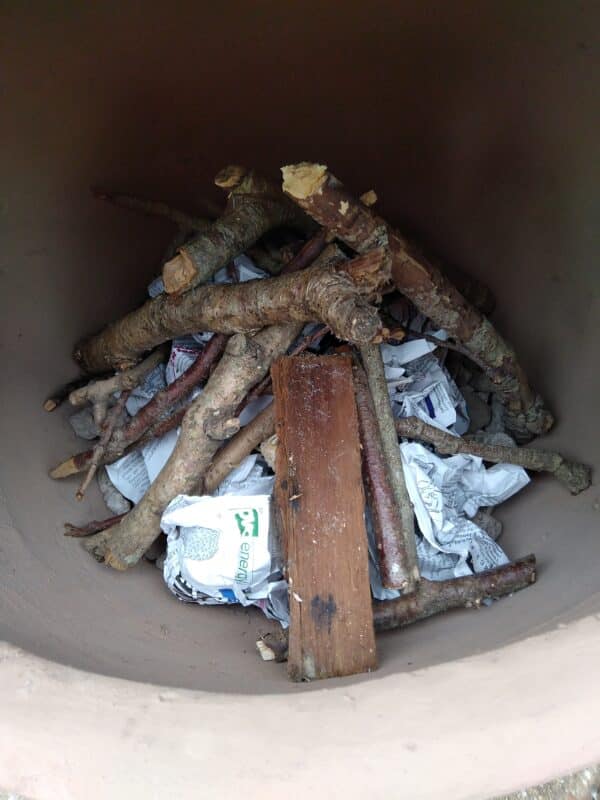
We scrumpled up the paper in the same way as you would for a wood burning stove indoors. Then balanced the firelighter on top and built a pyramid of small sticks over the top.
We lit the fire then stood back and watched…
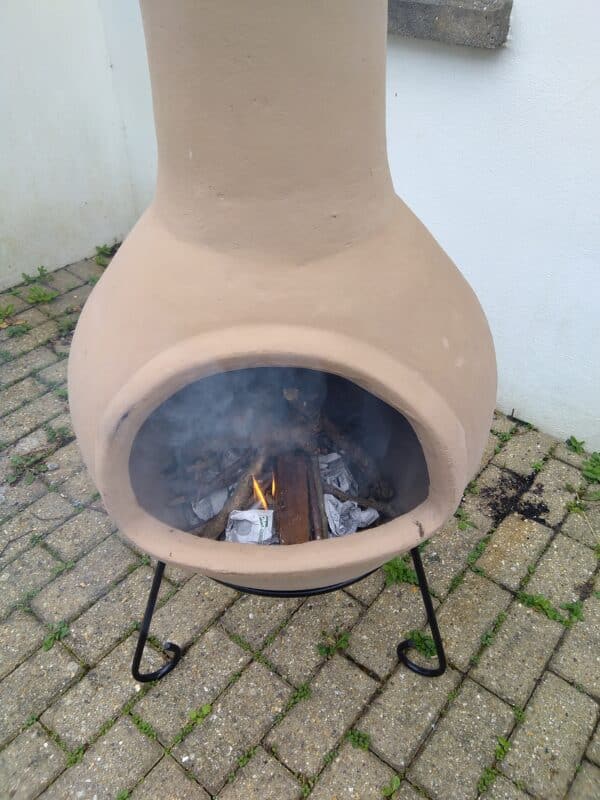
It didn’t take long for the fire to burst into life and start crackling. We were quickly well on the way to seasoning a chiminea.
The lava stones protect the clay, so we were careful to make sure the fuel didn’t stray off them and burn directly next to the clay body. We weren’t sure how careful we needed to be, so we were very careful just in case!
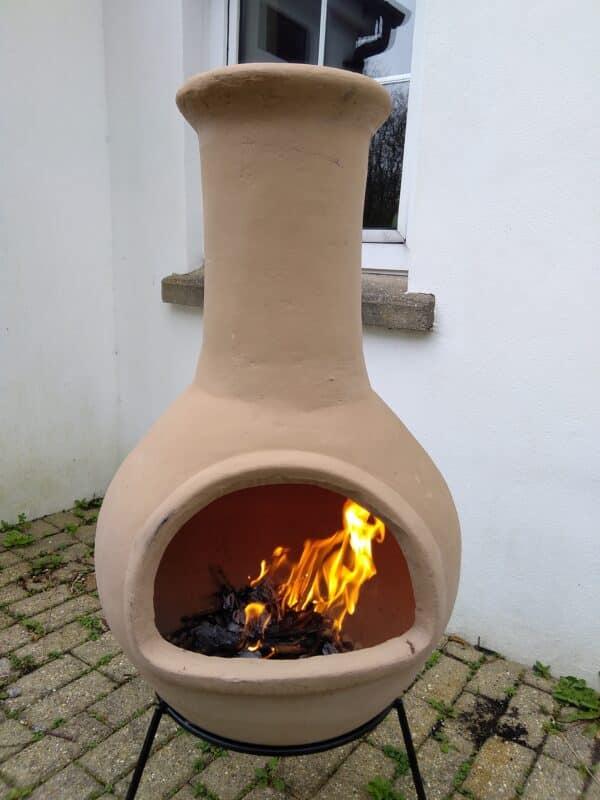
Once the initial small amount of fuel had burned, but before it went out, we added more fuel to steadily grow the fire. In total we used two lime green plastic baskets full of kindling, containing everything from small twigs to chunks of dry wood about 20cm long and 6cm wide.
Four separate small lots of fuel went on, each burning hotter and cleaner. This part took about an hour, going slow and steady all the way.
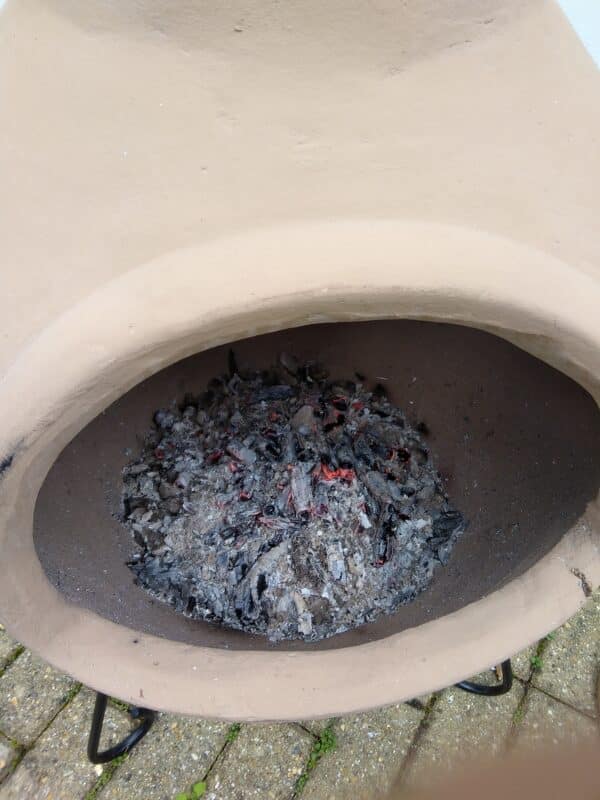
An hour and a half from start to finish, we’ve seasoned our chiminea. Back goes the chunky clay lid before we leave it to gently cool down. When we want to use it, it’ll be ready and waiting.
While there’s never any need for a big fire, next time we’ll be able to set a decent one without worrying about thermal cracking. There’s no need to clear out the fine ash that’s left over. It helps protect the clay along with the lava stones.
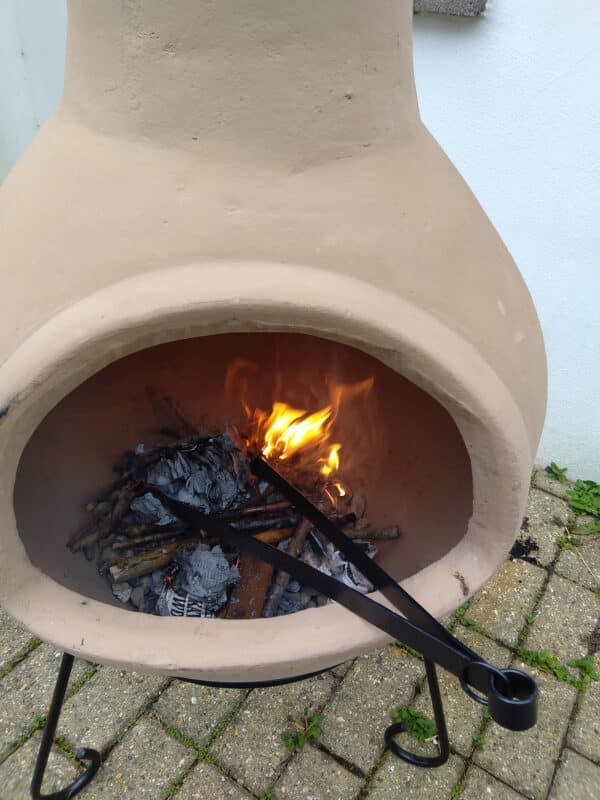
A word about the tongs. They’re perfect for shifting your fuel around inside the chim, adding more, and if you’ve overdone it, taking chunks carefully back out again. The poker, shown in the first photo at the top of this post, is brilliant as well. Using it for the first time we realise the pointy curved bit is ideal for hooking chunks of wood to move them around efficiently. What a clever design.
How fast does a clay chiminea heat up?
By the time we’d finished the seasoning process the clay body and chimney of our chim was good and hot, beginning to radiate the heat outwards. We can already tell the place we’ve chosen for it is too small. People will roast! So we’re going to move it to another location in the garden where we habitually spend lots of time. But that’s another story, one we’ll tell soon.
Watch the flames, chill out, feel fantastic
Here’s something rather lovely for you, an inspiring 60 second video of crackling flames with birdsong in the background. If this doesn’t make you want to fire up a chimenea of your own, we don’t know what will. Prepare to chill for a minute to the gorgeous sound of a chim running on a spring day down in heavenly Devon. Enjoy!